I’ve had homeowners paralyzed with fear, unwilling to make changes to their landscape because of the terror that lurks below the surface. No, not Tremors (though that may be some of Kevin Bacon’s finest work) – their irrigation system. Once you know how your system works, it really isn’t that terrifying.
Irrigation System Design Basics
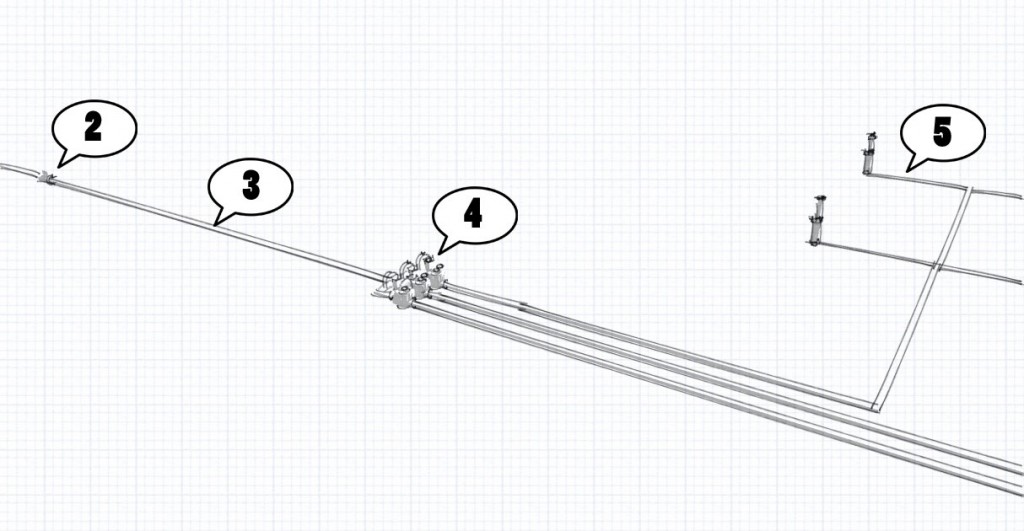
Here’s a basic diagram of an irrigation system layout:
Some homeowners are terrified to even bump against an irrigation line. Folks, it’s not a water main. The valves have to be on before water flows through the lines. Let’s follow the water through your irrigation system:
Step One: The backflow preventer
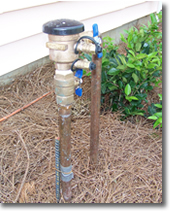
Where the irrigation system taps into your household water supply, code requires a backflow preventer. This prevents anything in the irrigation system water (dirt, sand, garden chemicals) from flowing back in and mixing with your tap water. This valve is sometimes located in the basement, sometimes outside.
Step Two: Main shutoff valve
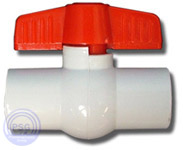
Every system should have one. If yours doesn’t have a main shutoff valve, that’s worth a call to get one installed. Often they’re located at the backflow preventer, but not always. Even if your backflow preventer has a shutoff valve, if the backflow is in the basement you should have a shutoff valve outside.
Step Three: The main line
Your irrigation system will have a main feed line that runs from the house to the valve manifold. This line is always charged (has water running through it), which is why a system shutoff valve is so important. If you break the main line, it’s the part of the system that will stream water until it’s shut down.
Step Four: The valve manifold
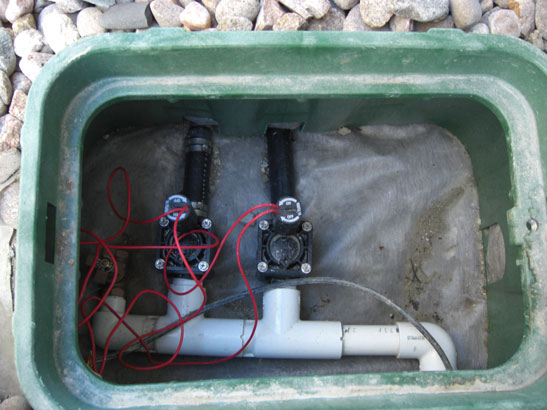
Water flows to the valve manifold and stops until the appropriate valve is opened. Each zone on your controller has its own valve, so when your front shrub zone comes on, that valve opens and water flows to the zone until the controller closes the valve again.
Step Five: The individual zones

When the valve opens, water fills the pipes in that zone and comes out the sprinkler heads (or drip tubes, or flood bubblers – whatever’s at the end of the line). When the valve closes, there’s no longer pressurized water in that zone, although you may have water dribbling out of the lowest head in the system for a few minutes. That’s just gravity and is perfectly natural.
As you can see, irrigation systems are very straight forward to understand and not at all terrifying. You may still want to have a professional service your system (and I strongly recommend a pro to install your system), but at least now you know how your system works – and that you’re not going to blow up the world if you nick a line).


How should the valve manifold boxes be installed? my installer seemed to squeeze an extra valve so it’s twisted and put it all in dirt. Did not cap wires. Seems sloppy…
“does it work?” is sort of the baseline standard. Having worked commercial well drilling for a while, I like very tidy manifolds and wiring harnesses, but that’s one of those things you don’t really learn about a company till they’ve done the work. For ease of future maintenance I’d see if they can replace the soil w/ gravel, but beyond that – if it works, it probably meets the terms of your contract.
Hi all,
We are stuck with volcanic rock where we live. I am thinking about mounting the sprinkler water lines to the house and place the valves and timer appropriately .l have used timers at the bibs but that process is getting really old and I want to upgrade to a real system, before I die.
Does anyone have thoughts for me or suggestions or critique? I can send photos if that will help.
I currently have 3 heads for each station on the timer.